HELLO ALL AND WELCOME TO PART 6
OF THE ……

Due to an unfortunate mishap on my part (dropping of my digital camera)
I have been unable to capture my progress on this project. Therefore the pictures contained here
within will be from an accelerated progress stand point. (Meaning almost complete lol)
Anyways let’s move along to what you have come here for….
Pictures of the progress!!!
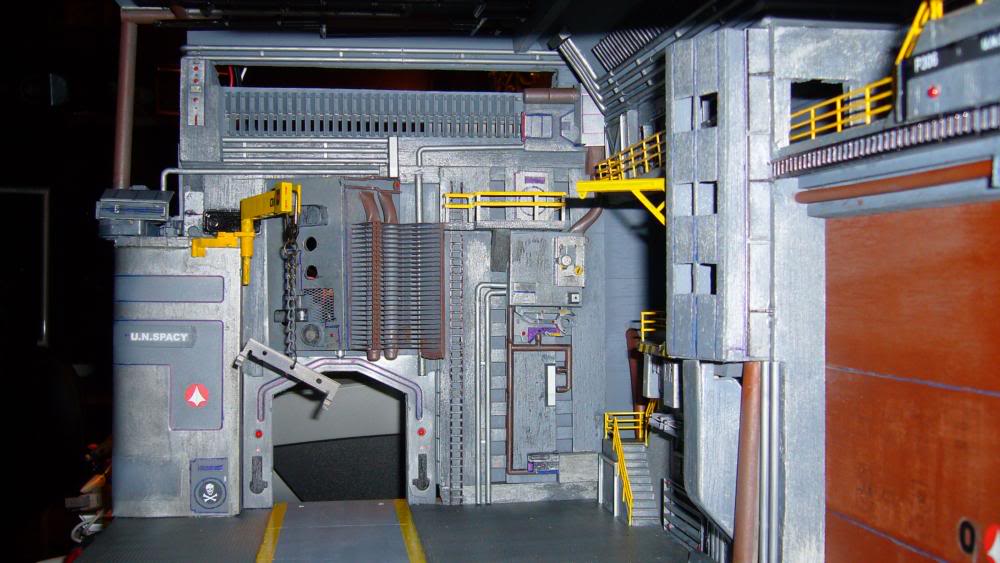
As you can see there has been an abundance of progress made to the left wall.
An array of piping, detailed panels, new doors, railings, decals,
and paint have been applied to bring this wall to a near finish.
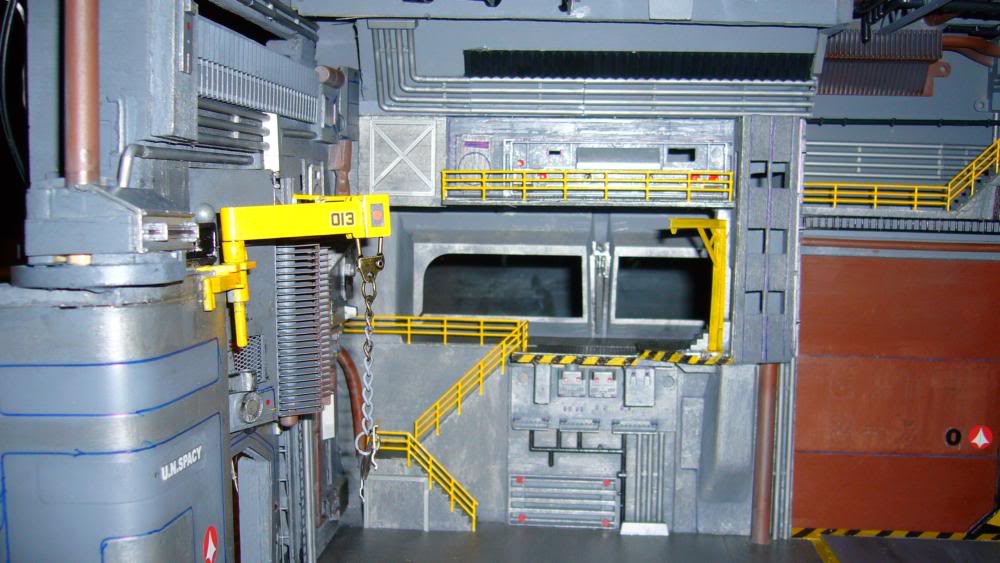
In this view you can see the detail added to the upper level.
Piping, a door, girder, railing, and a near finished paint job as well.
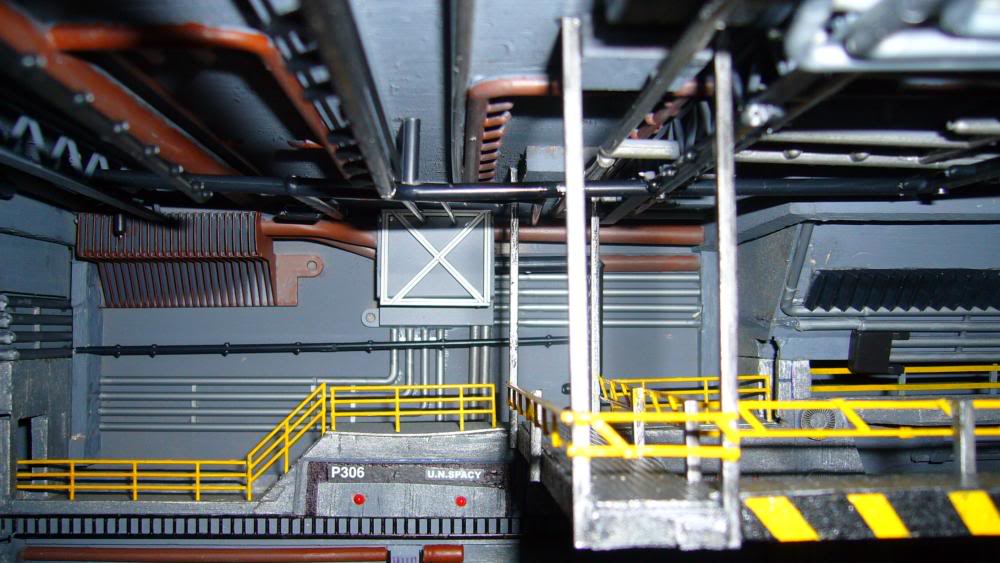
Here you can see much added detail. New railing was installed;
the catwalk assembly was installed, piping was added to the back wall,
a girder for detail, decals and of course paint was applied.
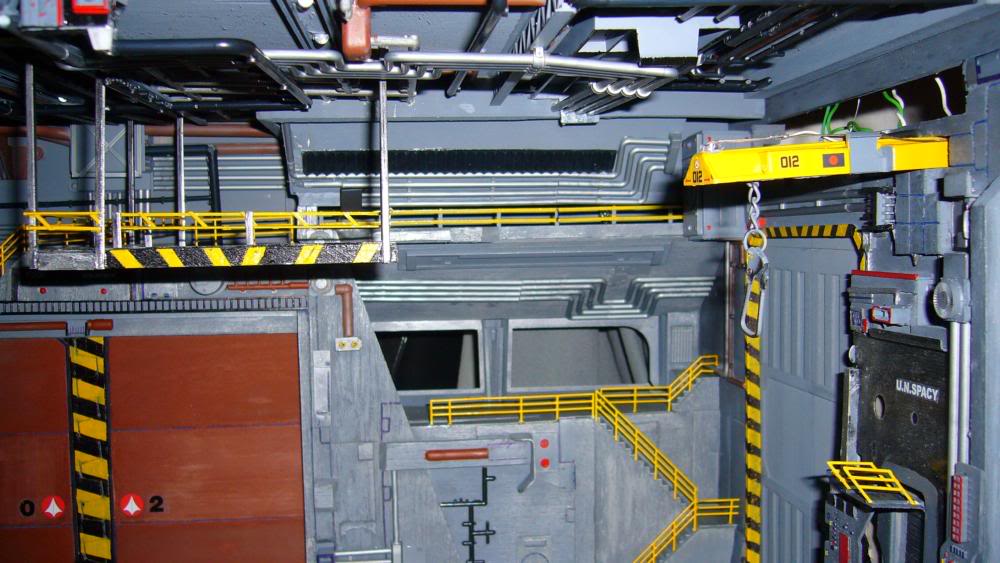
In this picture you can get a good look at the added detail of piping to
the ceiling structure as well as the back wall and observation area.
New railing was added and painted in the safety yellow color to match the rest of the hanger.
If you notice the crane has received decals and a new coat of paint as well.

Here is a lower view taken with the camera of the right side wall.
The black and yellow caution markings have been painted on to signify
the proper safety around moving doors. If you notice however the doors still need to be painted.
Also in this picture you can see yet another (and final) change to the pit assembly area.
(and yes the parts used where from the famed computer crash, but the paint hides it well)
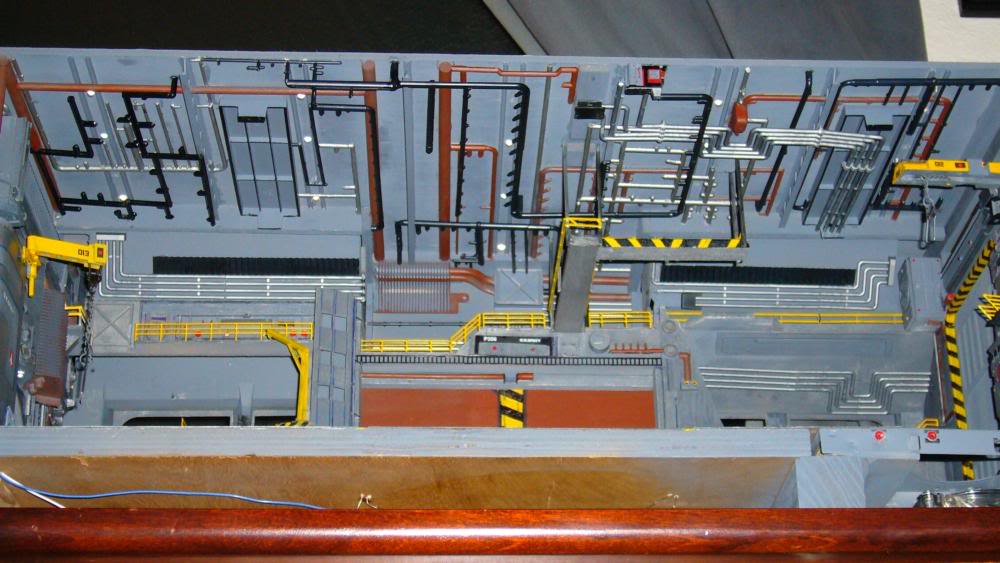
Here is an angled shot looking up at the ceiling to show the detailed layout of piping as well as light placement.
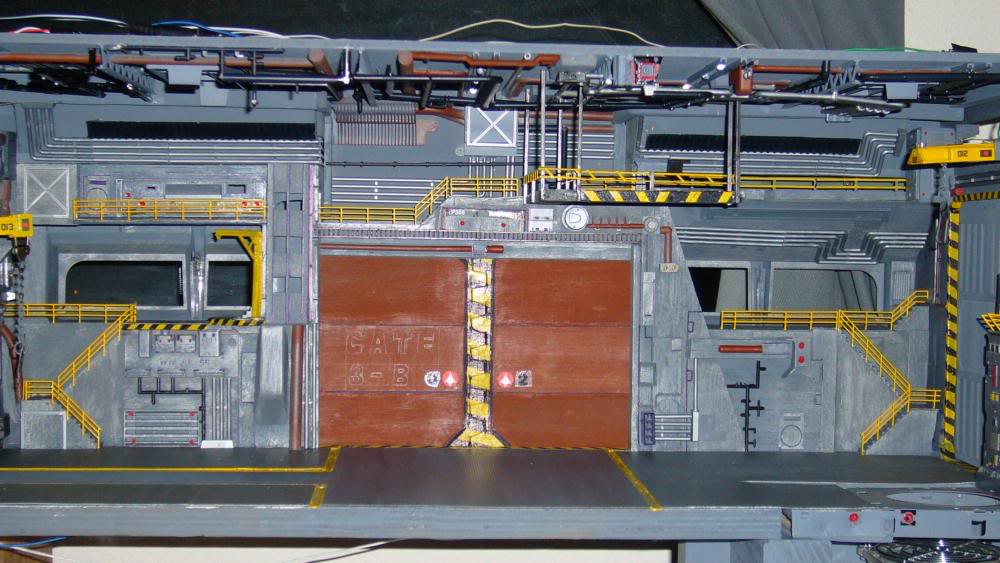
Finally here is a head on shot of what the hanger looks like with the near complete paint job.
If you notice you can see a light outline of what appears to be “GATE 3-B” on the left hand side door.
This was what I originally planed on applying before I settled for decals.
Now we move along to some time consuming parts of the build…..
Lighting!!!
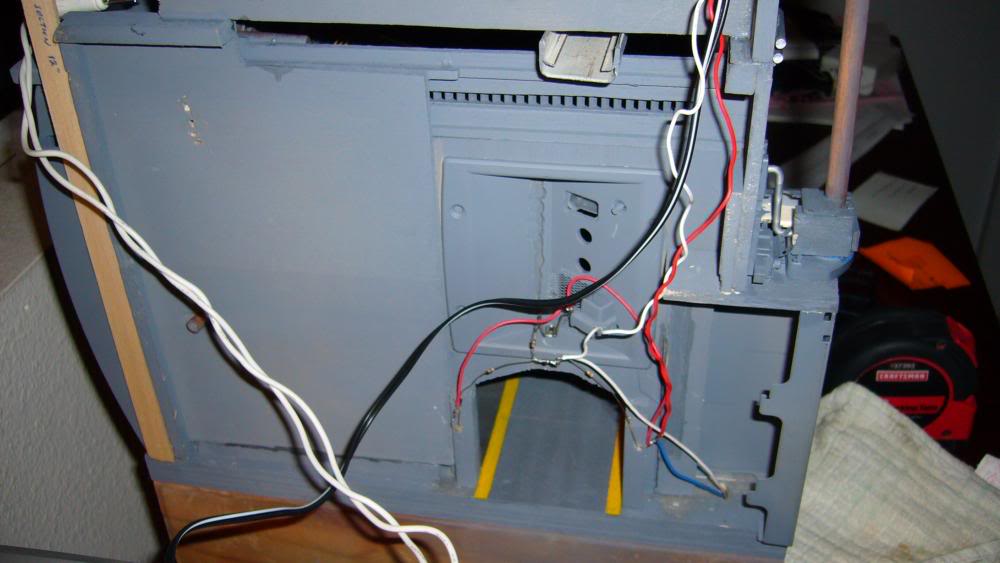
In this picture you can see the simple wiring done
(along with the proper resistors) for the LED lighting on the left hand wall.
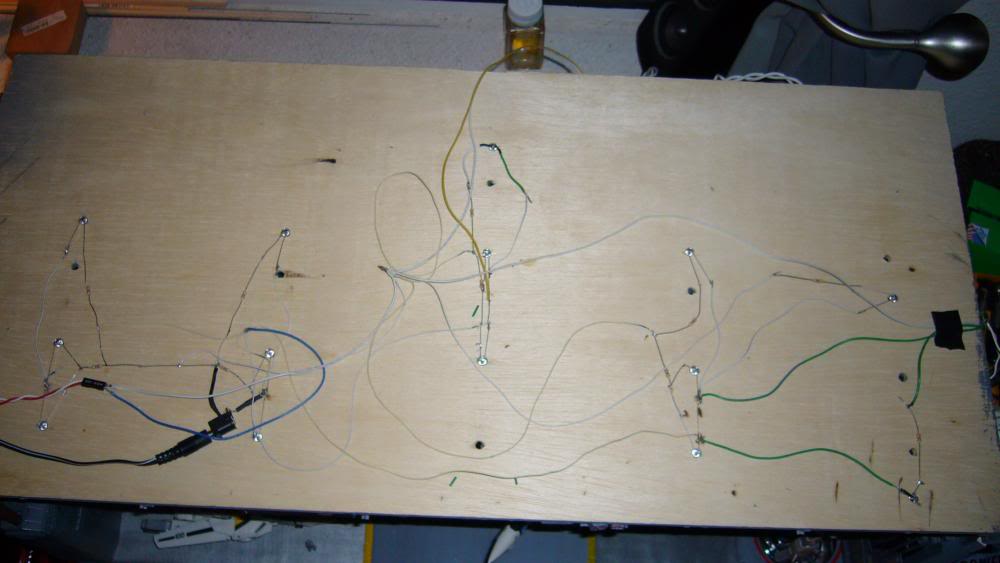
This is a picture of the top, here you can see the multitude of wiring, soldering,
added resistors, and a provided means of a power source.
Sadly this took a great deal of time since I’m not really great a soldering.
The wire used was a combo of 20 and 22 gauge and the wire adapter (aka power source)
was from an old (and broken) rechargeable 9 volt drill.
Lighting for the upper levels (observation levels) is provided with the use of
white Christmas lights taken from an old lighted angel tree topper.
Note: this lighting is not shown but will be seen in later pictures.
Now its time to conclude this part of the build but not without giving you a teaser of what is yet to come....

here is the teaser first (complete lighting) of the hanger deck...thank you again for hanging out with me on this build
and be sure to stay tuned for
part 7 of the build coming soon!!


 That has got to be the neatest fan project I've ever seen =]